How to Check if Your IP is Blacklisted (DNSBL Guide)
If your emails suddenly stop getting delivered, your IP might be blacklisted. This guide explains how to check DNSBL listings, why they happen, and how to fix them.
Everything was working fine yesterday. Emails were going out, people were opening them, life was good. Then today — nothing. Emails are bouncing, delivery rates tanked, and you have no idea why.
Chances are, your IP got blacklisted.
IP blacklists (also called DNSBLs or RBLs) are databases that track IP addresses known for sending spam. When your IP ends up on one of these lists, email providers use that information to block or filter your emails. Let's talk about how to check for this, why it happens, and how to fix it.
What Is a DNSBL?
DNSBL stands for DNS-based Blackhole List. It's a list of IP addresses published through DNS that are suspected of sending spam or unwanted email. Email servers check these lists in real-time when they receive an email. If the sending IP is on the list, the email gets rejected or sent to spam.
There are dozens of DNSBLs out there. Some of the most important ones include:
- Spamhaus ZEN — the most widely used blacklist. Being listed here is serious.
- Spamhaus SBL — lists IPs involved in spam operations
- Spamhaus XBL — lists IPs with compromised systems (bots, proxies)
- Spamhaus PBL — lists IP ranges that shouldn't be sending email directly
- Barracuda (BRBL) — used by many corporate email systems
- SpamCop — based on user spam reports
- SORBS — tracks various types of email abuse
- CBL (Composite Blocking List) — focuses on botnet and malware activity
- UCEPROTECT — has three levels of increasing severity
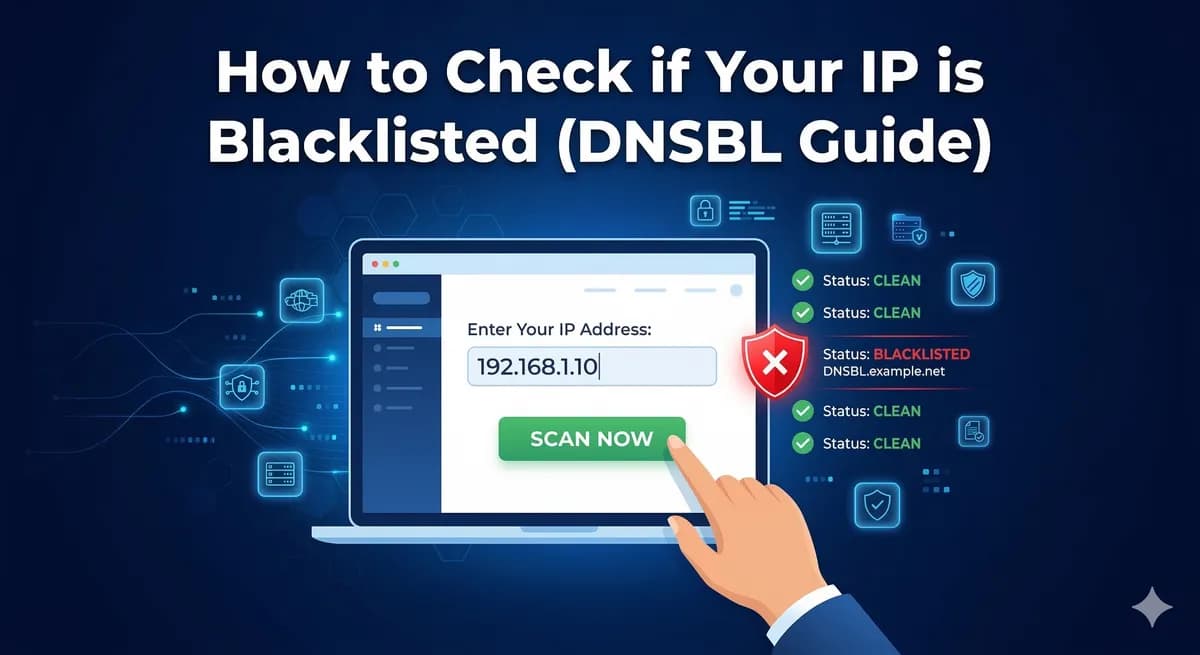
How to Check Your IP
Method 1: Use PMTAcore's IP Blacklist Checker
The easiest way is to use the IP Blacklist Checker built into PMTAcore. It checks your IP against all major DNSBLs at once and gives you a clear report. No command line needed, no visiting multiple websites.
Method 2: Manual DNS Lookup
You can check individual blacklists using the dig or nslookup command. The process is the same for all DNSBLs:
- Reverse your IP address (1.2.3.4 becomes 4.3.2.1)
- Append the DNSBL domain
- Do a DNS lookup
# Check Spamhaus ZEN
dig +short 4.3.2.1.zen.spamhaus.org

# Check Barracuda
dig +short 4.3.2.1.b.barracudacentral.org

# Check SpamCop
dig +short 4.3.2.1.bl.spamcop.net
If the command returns an IP address (usually 127.0.0.x), your IP is listed. If it returns nothing (NXDOMAIN), you're clean on that list.
Method 3: Online Tools
Websites like MXToolbox, MultiRBL, and BlacklistAlert let you check multiple lists through a web interface. These work fine for quick checks, but they're not practical for ongoing monitoring of multiple IPs.
Why IPs Get Blacklisted
Understanding why you got listed helps you prevent it from happening again. Common reasons include:
- High spam complaint rate: Too many recipients marked your email as spam. Keep complaints below 0.1%.
- Sending to spam traps: These are email addresses set up specifically to catch spammers. They end up on your list when you scrape addresses or buy lists.
- High bounce rate: Sending to a lot of invalid addresses signals that you're not maintaining your list properly.
- Compromised server: If your server gets hacked, it might be used to send spam without your knowledge.
- Shared IP reputation: If you're on a shared IP (common with cheap hosting), someone else's bad behavior can get the IP listed.
- No authentication: Missing SPF, DKIM, or DMARC records make your emails look suspicious. See our authentication setup guide.
- Sending too fast on a new IP: Skipping the warmup process is a fast track to blacklists. Check our IP warmup guide.
How to Get Delisted
The delisting process varies by blacklist, but the general steps are:
1. Fix the Root Cause First
Don't request delisting until you've fixed whatever caused the listing. If you get delisted and the problem continues, you'll end up right back on the list — and it'll be harder to get off the second time.
2. Request Delisting
Each blacklist has its own delisting process:
- Spamhaus: Visit their lookup page, enter your IP, and follow the removal instructions. They usually require you to explain what happened and what you've done to fix it.
- Barracuda: Submit a removal request through their website. Usually processed within 12-24 hours.
- SpamCop: Listings expire automatically after 24-48 hours if no new spam reports come in. No manual removal needed.
- SORBS: Some listings require a small fee for expedited removal. Others expire automatically.
- CBL: Self-service removal through their website. Usually instant.
3. Monitor After Delisting
After getting delisted, monitor your IP closely for the next few weeks. If you get relisted, there's still an underlying problem you haven't fixed.
Preventing Blacklisting
Prevention is always better than cure. Here's how to stay off blacklists:
- Validate your email lists before sending. Remove invalid addresses, role accounts, and known spam traps. PMTAcore's Email Validation tool can help with this.
- Warm up new IPs properly. Follow a gradual warmup schedule. See our warmup guide.
- Set up authentication. SPF, DKIM, and DMARC are non-negotiable. Here's our setup guide.
- Monitor regularly. Don't wait until emails stop delivering. Check your IPs daily.
- Honor unsubscribes immediately. Process unsubscribe requests within hours, not days.
- Use IP rotation. Spread your sending across multiple IPs so one listing doesn't take down everything. See our IP rotation guide.
- Keep your server secure. Update regularly, use strong passwords, and monitor for unauthorized access.
Checking Blacklists in PowerMTA
PowerMTA's bounce logs can give you clues about blacklisting. Look for bounce messages that mention specific blacklists:
# Check recent bounces
tail -f /var/log/pmta/bounce.log | grep -i "blacklist\|blocked\|spamhaus\|barracuda"
Common bounce messages that indicate blacklisting:
550 5.7.1 Service unavailable; client [x.x.x.x] blocked using Spamhaus554 Your IP has been blacklisted by Barracuda421 Temporarily deferred - listed on SORBS
Automate Blacklist Monitoring with PMTAcore
Manually checking blacklists across multiple IPs every day is tedious. And by the time you notice a listing manually, you might have already lost hours of delivery.
The IP Blacklist Checker in PMTAcore monitors all your IPs against major DNSBLs automatically. You get alerts when a listing is detected so you can act fast.
Combined with Cloud Server Management for managing IPs across multiple servers and SMTP Tools for testing connectivity, PMTAcore gives you complete visibility into your email infrastructure.
Download PMTAcore or check our pricing to get started.
Related Articles

How to Configure PowerMTA Bounce Handling (Reduce Bounces Below 2%)
Gmail, Yahoo, and Microsoft now require bounce rates under 2%. This guide shows you how to configure PowerMTA's bounce processing, automate suppression, and keep your sender reputation clean.
Read more →
How to Warm Up IPs in PowerMTA (Complete Guide)
New IPs have zero reputation. If you blast thousands of emails on day one, you'll end up in spam or get blocked entirely. This guide shows you how to warm up IPs properly in PowerMTA.
Read more →
How to Rotate IPs in PowerMTA for Better Deliverability
Sending all your email from one IP is risky. This guide shows you how to set up IP rotation in PowerMTA using virtual MTAs to spread volume and protect your sender reputation.
Read more →